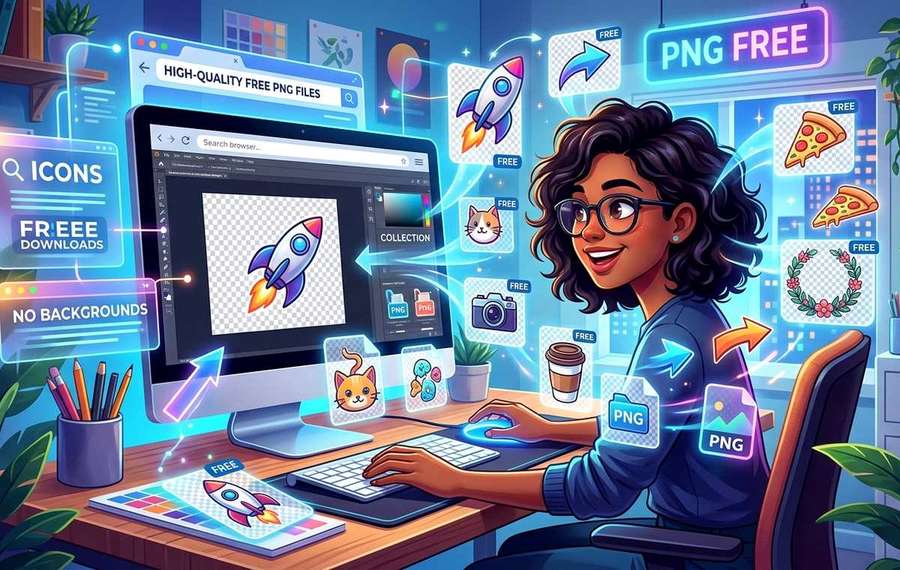
Summary of Where to Find High-Quality Transparent PNG Files for Free
- Find high-quality transparent PNG files free for blog thumbnails, YouTube art, and tech review assets.
- Finding the right image with a clean transparent background sounds simple until you spend forty minutes downloading files that turn out to be low-res, watermarked, or saved on a white background disguised as transparency.
- A PNG file with a transparent background, technically called an alpha channel, lets you place an image on any colored or textured surface without seeing an unwanted white box around it.
Finding the right image with a clean transparent background sounds simple until you spend forty minutes downloading files that turn out to be low-res, watermarked, or saved on a white background disguised as transparency. If you create blog thumbnails, YouTube channel art, or tech-review graphics regularly, you already know that pain. The welcome news is that free, genuinely transparent PNG libraries exist, and once you know where to look, sourcing assets from your phone becomes surprisingly painless.
Creator's Shortcut:
1. Transparent PNGs save editing time because the background is already removed, making them drop-in ready for any composition.
2. Browsing by subject category rather than typing keywords cuts search time dramatically on a small phone screen.
3. Tech-specific libraries stock device icons and app mockups as cut-outs, which are the assets content creators need most.
Why Transparent PNG Files Matter for Content Creators
A PNG file with a transparent background, technically called an alpha channel, lets you place an image on any colored or textured surface without seeing an unwanted white box around it. The PNG format was specifically designed to support lossless compression and alpha transparency, two features that make it the preferred format for graphics work over JPEG.
When you drop a cut-out smartphone icon onto a gradient thumbnail, it blends cleanly. When you stack a logo onto a video still, the edges look natural. JPEG cannot do that. PNG can, and that is why creators hunt for PNG files specifically rather than just any image.
The catch is that not every site labeled "free PNG" actually delivers clean transparency. Some files are compressed so aggressively that the edges look jagged. Others are only free for personal use, which is a licensing headache when you are publishing to a channel with commercial intent.
What Makes a PNG Library Worth Using
What this means for Where to Find High-Quality Transparent PNG Files for Free
Before settling on any image source, it helps to know what to evaluate. Here is what separates a genuinely useful PNG library from a frustrating one.
- True alpha channels: Open the file in any editor and check that the background is transparent, not white or gray.
- Vector-quality resolution: The image should hold up at large sizes without pixelating.
- Clear licensing: Free for commercial use, attribution optional, is the standard you want.
- Subject depth: A library with thousands of files across many topics means you rarely need to leave it for something else.
- Mobile-friendly browsing: If you are working from a phone, the site needs to load fast and navigate cleanly on a small screen.
Sourcing Device Icons and App Mockups as Cut-Outs
Tech content creators have a specific challenge. A YouTube thumbnail for a phone review needs the device rendered as a floating object, not sitting in a white rectangle. A blog post comparing camera apps looks sharper with the app icon dropped cleanly onto a custom background.
The fastest way to handle this is to find a library that has already done the cutting out for you. Searching for generic terms like "iPhone PNG" or "Android icon transparent" on broad image sites usually returns inconsistent results, some transparent, some not, with no way to filter reliably.
A dedicated tech-focused section changes that. Browsing tech PNG images gives you a focused collection of device renders, app icons, laptop cut-outs, and component graphics that are already prepped for compositing. No selection tool required. No background removal step. You download and place directly into your design.
For a creator working fast, especially someone producing assets between sessions on a phone or tablet, this kind of ready-to-use library is genuinely worth bookmarking.
How to Find What You Need Without Typing Dozens of Keywords
Keyword search works fine on a desktop with a full keyboard. On a phone, typing "transparent flat design smartphone icon facing left silver color" is not a realistic workflow. And even when the keyword does work, search results in large libraries tend to return a mix of loosely related files that require sorting.
Category browsing solves this entirely. Instead of describing exactly what you need, you browse in the right neighborhood and scan thumbnails until something fits. It is faster, especially when you are not sure of the exact term for what you are looking for.
Using the full PNG categories view lets you move through subject areas, technology, nature, food, people, objects, without typing anything. You tap a category, browse the grid, and download. On a mobile screen with limited keyboard real estate, this is the most practical way to work through a large image library.
This approach also surfaces images you would never have thought to search for but immediately recognize as perfect once you see them.
A Practical Workflow for Mobile Creators
Here is how to put this all together if you are building assets from your phone or tablet.
- Identify the asset type you need. Is it a device render, an icon, a generic object, or something more illustrative? Knowing the category saves you from browsing the wrong section.
- Go directly to the relevant topic or category page. Avoid general search when you can browse by subject instead.
- Check the thumbnail size. Most libraries show small previews. If the thumbnail looks sharp, the full file usually is too. If it already looks pixelated, skip it.
- Download and open in your editing app. On iOS, Canva and Pixelmator handle PNG transparency well. On Android, PicsArt and Adobe Express are solid choices.
- Verify the transparency before building your layout. Place the image on a dark background in your editor. If you see a white halo, the file is not truly transparent and you will need to remove it manually.
- Save your source folder. Keep a local folder of the PNG files you use regularly. Redownloading the same assets repeatedly wastes time.
Checking Licenses Before You Publish
Most free PNG libraries allow personal use without restriction. Commercial use is where things get more complicated. If your YouTube channel is monetized, or your blog runs display ads, the images you use are technically in commercial contexts.
The safest standard to look for is Creative Commons Zero, also written as CC0. This license means the creator has waived all rights and you can use the image for any purpose, with no attribution required. Some libraries use CC BY, which requires you to credit the source. That is still usable but adds a step.
Always check the license on the specific image, not just the site's general policy. Libraries sometimes host a mix of license types across their collection.
Transparent PNGs and the Problem With Social Platform Compression
One practical issue that does not get discussed enough is platform compression. When you upload a thumbnail to YouTube or a featured image to WordPress, the platform recompresses it. PNG files often get converted to WebP or JPEG internally, which can flatten transparency into a white or colored background depending on the platform's default.
The fix is to always flatten your final composition before uploading. Do not upload a raw transparent PNG as a thumbnail. Merge the transparent asset onto your chosen background within your design app first, then export the final result as a non-transparent JPEG or PNG. That way the transparency serves its purpose during editing, and the final file is optimized for upload.
The Real Advantage of a Deep, Organized Library
The biggest time savings in any creative workflow comes from not having to switch between tools. When one library covers tech assets, general objects, icons, and illustrative elements, and when it is organized into browsable categories, you stay in one place from start to finish.
For creators building consistent visual brands across a blog and a YouTube channel, consistency of asset style also matters. When all your cut-out images come from the same library, they tend to have a similar rendering style and resolution, which makes your thumbnails look coherent without extra effort.
That is the actual value of a well-organized PNG library: not just free images, but fewer decisions, less switching, and faster output.
Your Asset Workflow Starts Here
Transparent PNG files are not a luxury for polished creators. They are the baseline for anyone trying to produce professional-looking graphics without a studio budget or hours of retouching time. The sourcing step is the one that most people get wrong, spending time on sites that look useful but deliver inconsistent quality or unclear licensing.
A library with dedicated tech sections and subject-based browsing handles both problems at once. The assets are already cut out, the categories are already organized, and the workflow holds up whether you are sitting at a desk or building thumbnails between meetings on your phone.
Start with the categories that match your content type, verify the license on anything you plan to publish commercially, and keep a local folder of your most-used assets. That three-step habit will save more time than any other single change you can make to your graphics workflow.