Summary of What iPhone’s HEIC Photos Are and How to Convert Them on Any Device
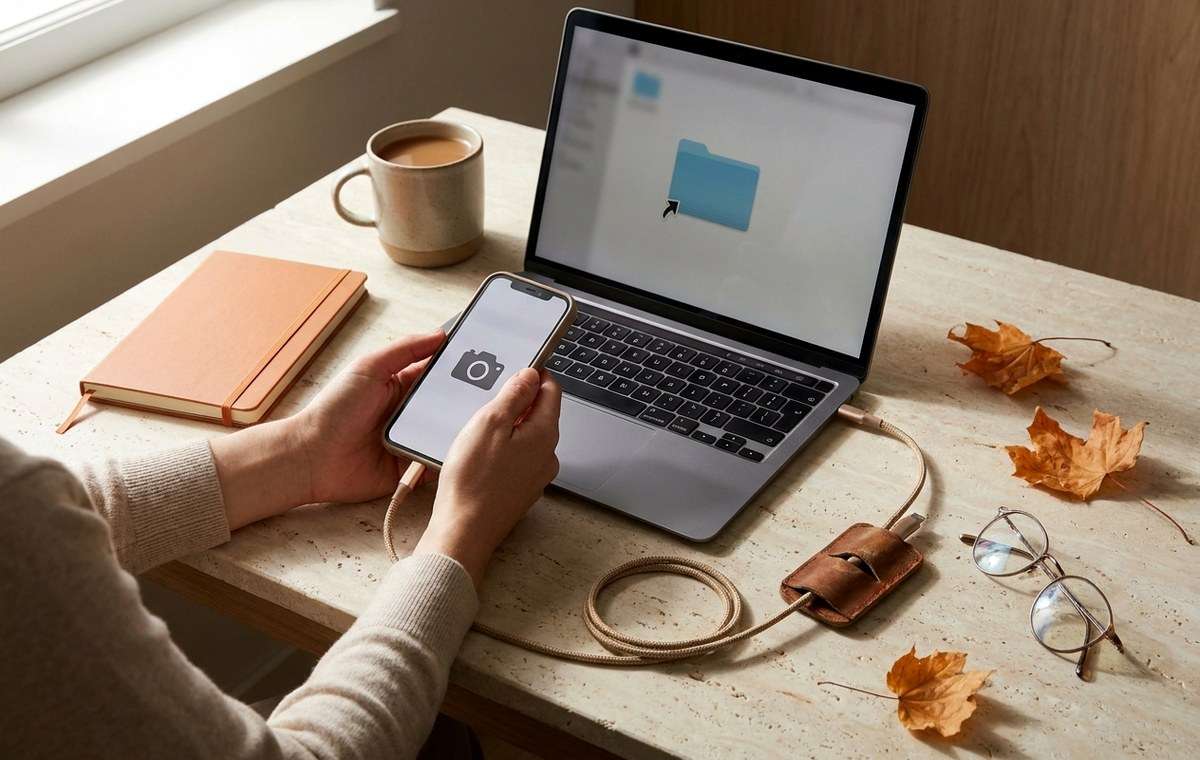
- You plug your iPhone into a Windows laptop, open the photo folder, and find a pile of files ending in .heic.
- Key Takeaway: HEIC is Apple’s default camera format since iOS 11.
- Back in 2017, Apple switched to HEIC as the default camera format with iOS 11 on the iPhone 7.
You plug your iPhone into a Windows laptop, open the photo folder, and find a pile of files ending in .heic. Your PC stares back blankly. Your Android friend can’t open the ones you texted. If this sounds familiar,…
You plug your iPhone into a Windows laptop, open the photo folder, and find a pile of files ending in .heic. Your PC stares back blankly. Your Android friend can’t open the ones you texted. If this sounds familiar, you’re not alone, and the fix takes less than a minute.
Key Takeaway: HEIC is Apple’s default camera format since iOS 11. It stores images at roughly half the file size of JPEG with no visible quality loss, but it doesn’t open natively on Windows or most Android devices. Converting to PNG gives you the widest compatibility across every platform. If you’d rather stay in HEIC for the storage efficiency, trimming those files before a backup is a smart middle ground.
Why Apple Made HEIC the Default — What iPhone’s HEIC Photos Are and
Back in 2017, Apple switched to HEIC as the default camera format with iOS 11 on the iPhone 7. The reason was simple: phone storage fills up fast, and Apple needed a format that could hold more photos in the same amount of space without making images look worse.
HEIC stands for High Efficiency Image Container. It’s built on the HEIF specification, developed by the Moving Picture Experts Group. The compression technology underneath is HEVC, the same codec that powers 4K video streaming. Using it for still photos was a genuinely clever move.
In practice, a 12-megapixel photo taken on a modern iPhone averages around 3 MB in HEIC. The same shot saved as a JPEG typically lands closer to 6 MB. Over a trip where you shoot 400 photos, that difference adds up to gigabytes of freed space.
What HEIC Gets Right, and Where It Frustrates You — What iPhone’s HEIC Photos Are and
HEIC isn’t just about smaller files. It supports 16-bit color depth, stores transparency natively, and can hold multiple images inside a single container, which is exactly how Live Photos work. It also preserves more detail in highlights and shadows compared to JPEG at the same file size.
But the format has one problem that follows it everywhere: compatibility.
Windows 10 and 11 need a separate codec to open HEIC files, and that codec used to cost money on the Microsoft Store. Most Android devices can’t open HEIC at all without installing a third-party app. Many web browsers handle the format inconsistently, and older image editors often ignore it entirely.
HEIC vs JPEG vs PNG: How the Formats Compare
| Feature | HEIC | JPEG | PNG |
|---|---|---|---|
| Typical file size | Smallest | Medium | Largest |
| Color depth | 16-bit | 8-bit | Up to 16-bit |
| Compression type | Lossy | Lossy | Lossless |
| Transparency | Yes | No | Yes |
| Windows support | Requires codec | Native | Native |
| Android support | Limited | Universal | Universal |
| Web browser support | Inconsistent | Universal | Universal |
That table tells the whole story. HEIC wins on quality and storage efficiency. JPEG wins on raw compatibility. PNG wins when you need quality and compatibility together, which is exactly why it’s the conversion target most people reach for.
Converting HEIC to PNG: The Simplest Path — What iPhone’s HEIC Photos Are and
PNG is a lossless format, meaning no image data gets thrown away during compression. It works on every major operating system, browser, and photo editor without any extra software or codec installs. When you’re not sure what device the recipient is on, PNG removes the guesswork entirely.
The most friction-free way to convert is using an online tool. No software to install, no account required, and it works from any device including the iPhone itself.
Here’s the process:
- Open HEIC to PNG in any browser
- Drag your HEIC file into the upload area, or tap to browse your photo library
- Wait a few seconds while the conversion runs
- Download the finished PNG file
That’s the entire workflow. The resulting file opens in Windows Photo Viewer, macOS Preview, Chrome, Firefox, Gmail attachments, and every Android gallery app without complaint.
A Few Things to Know About PNG Files
PNG files are larger than HEIC because they’re lossless. For a single shared photo, that’s not a problem. For a full vacation album, the file sizes can add up fast. Convert selectively rather than in bulk, and you’ll avoid running into email attachment limits or slow upload times.
Also, converting doesn’t touch your original HEIC file. It stays on your camera roll exactly as it was. You end up with the original and a compatible copy, which is the safest possible outcome.
Staying in HEIC and Trimming the File Size Instead — What iPhone’s HEIC Photos Are and
Not everyone needs to change formats. If your goal is clearing space before a backup rather than cross-platform sharing, there’s no need to switch to PNG at all.
The smarter move is to compress HEIC files directly. This reduces the file size while keeping the HEIC container, so your photos stay fully compatible with iCloud, Apple Photos, and every Apple device you own. No format switching required.
This approach makes the most sense in these situations:
- You have a large camera roll you want to archive but don’t plan to print at large sizes
- You’re backing up to a drive or NAS with limited free space
- You’re trying to reduce your iCloud storage tier without deleting photos
One honest caveat: HEIC compression, like all lossy compression, does discard some image data. The difference is usually invisible at normal screen sizes, but if you’re planning to do heavy editing or large-format printing, converting to PNG and keeping the original is the safer path. iPhones do offer a built-in setting to shoot in JPEG instead of HEIC. Go to Settings, then Camera, then Formats, and tap “Most Compatible.” From that point forward, new photos save as JPEG.
Should You Just Switch iPhone to JPEG Mode? — What iPhone’s HEIC Photos Are and
The tradeoff is real, though. JPEG files are roughly twice the size of HEIC for the same quality level. On a 64GB phone where you also shoot video, that difference matters. And the setting only applies to new photos. Your existing HEIC library doesn’t get converted automatically.
For most people, the better approach is to keep shooting in HEIC for the storage advantages and convert individual photos when you need to share them with someone on a non-Apple device. That gets you efficient storage day-to-day without the compatibility headache when it counts.
What HEIC Gets Right That JPEG Never Will — What iPhone’s HEIC Photos Are and
The quality gap between HEIC and JPEG isn’t subtle at the technical level. HEIC supports up to 16-bit color depth per channel, compared to 8-bit for JPEG. That means smoother gradients, better skin tones, and more recoverable shadow and highlight detail when you edit in post.
For phone photography, that extra headroom matters more than it used to. Modern iPhone cameras shoot in computational HDR, blending multiple exposures automatically. HEIC can hold the full dynamic range of that process. JPEG flattens it.
If you’ve ever noticed that a photo looks great on your iPhone but looks washed out or slightly off when opened on another device, the format conversion is often the culprit. JPEG just doesn’t have the bit depth to carry the full tonal range that the iPhone camera captures.
Your Practical HEIC Playbook — What iPhone’s HEIC Photos Are and
The format wars between HEIC, JPEG, and PNG aren’t going anywhere soon, but you don’t need to pick a side permanently. The practical answer is to use each format for what it handles best.
Keep shooting in HEIC. Let Apple do its job of keeping your camera roll as small as possible while preserving quality. When you need to share a photo with someone on Windows or Android, convert that specific image to PNG and send the converted file. When you’re running a backup and want to trim storage usage without changing formats, run a compression pass on your HEIC files before you copy them.
That three-part workflow handles the vast majority of situations iPhone owners run into. No permanent settings changes, no bulk conversions you’ll regret later, and no one on the receiving end confused by a file they can’t open.
HEIC is genuinely the best still-image format available on a consumer phone today. The compatibility friction is real, but it’s manageable. Now you have the tools to manage it.
Continue from What iPhone’s HEIC Photos Are and How to Convert Them on Any Device:iPhone guides,How-to, and MobileBurn's mobile phone guides provide the closest supporting context and next practical step.